Well after a bit of planning and piece collecting I feel my self designed Indiana Jones Lego diorama is now finished. I know its not spot on, but who cares. It was fun to just randomly throw pieces together while watching random 80’s flicks and not giving a care. I know I am a older guy, but as my wife says I’m still a kid at heart. I roughly did up scenes from Raiders, Temple of Doom, and The Last Crusade. I have the idol scene from Raiders. There is the Temple of Doom stones scene (*even though the stones ended up being jewels in my set). Then there is the Last Crusade scenes with the walk towards the Holy Grail room. I told the wifey I actually had more fun with this randomness than I do putting together a pre-designed set.
Sometimes just sitting back and enjoying a 80’s flick and piddling around with legos gives a old man like me joy. I’m no Lego master by far and I dont go all out for expensive sets. Heck I look to save money where I can on them even if it means off brand or skipping a purchase all together if need. But while watching Raiders of the Lost Ark I decided what the heck, why not. So I start building myself an Indiana Jones diorama. It’s a start to it but so far I feel it its turning out ok. On the back side there are chambers for scenes from Raiders, Temple of Doom, and The Last Crusade. A lot more more to do to it though, but that’s for another night.
Took a little bit of time to size up and draft some design plans for creating my own Tardis. Took the time to set it so it would look close enough to the actual thing. I know it’s not perfect, but it was fun to sit back watching a 80’s flick and build. Even put a control center into if for the doctor to use. Now just to put a few final touches on it and add some custom decals.😁👊🏻
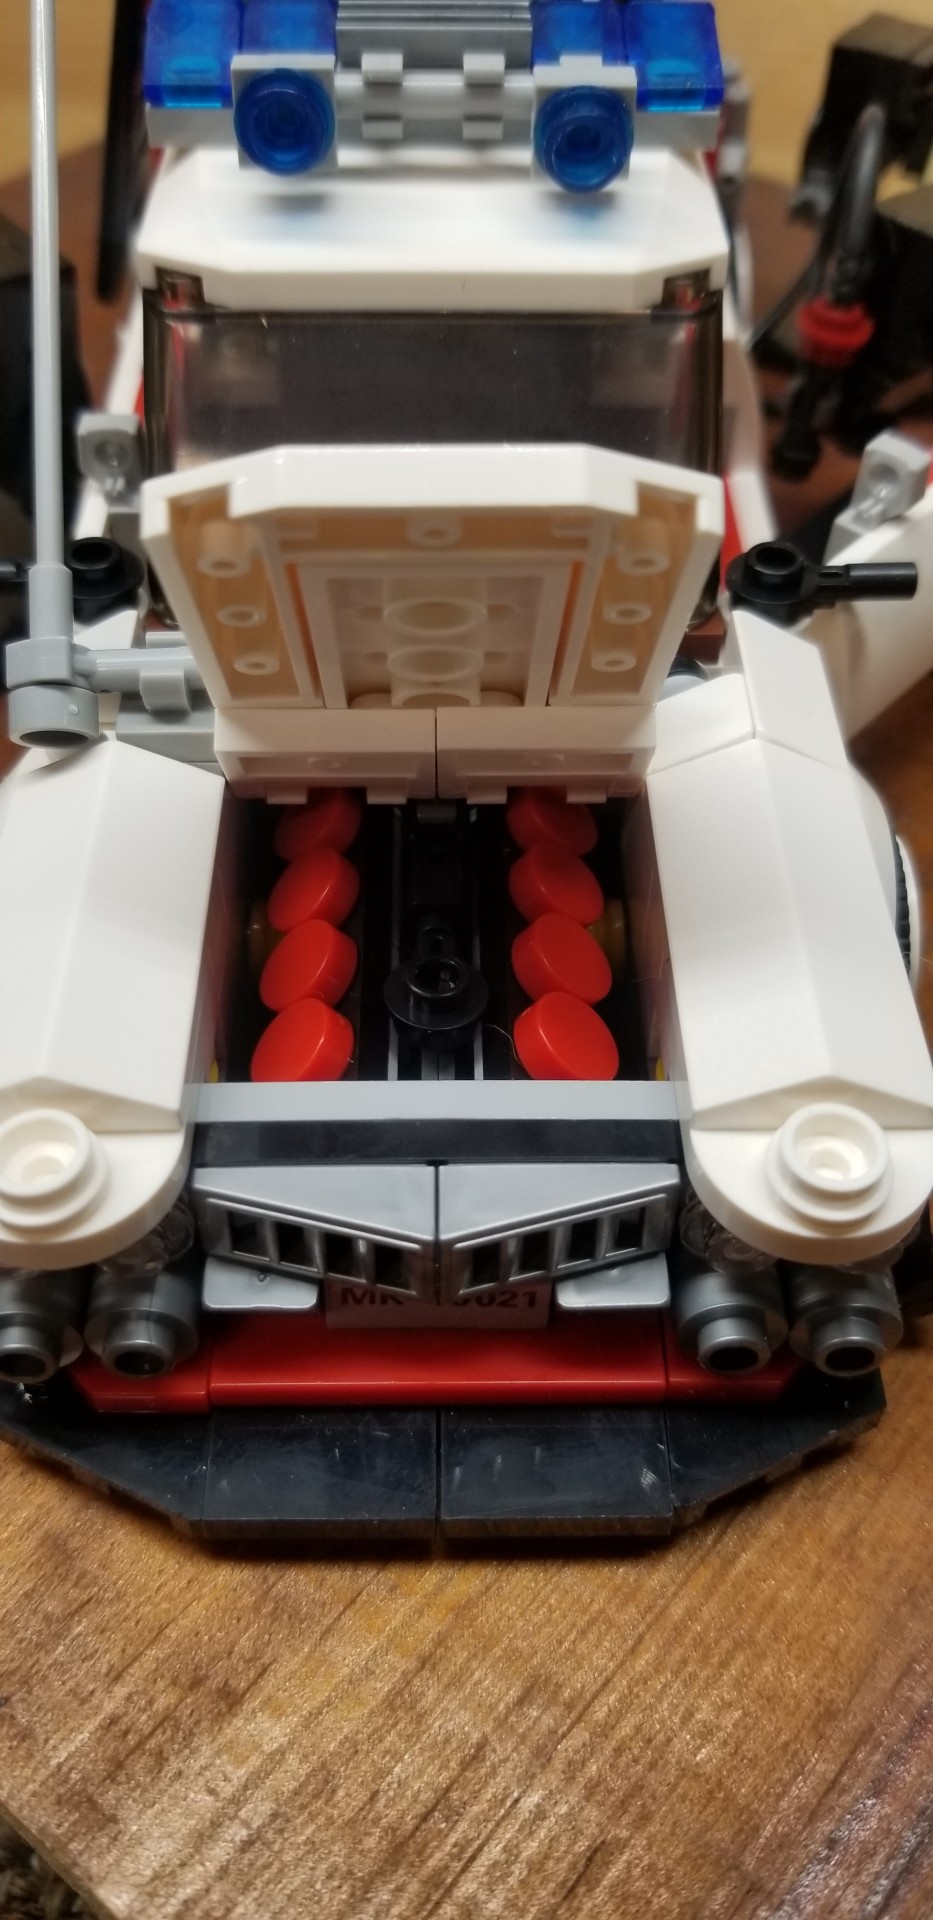
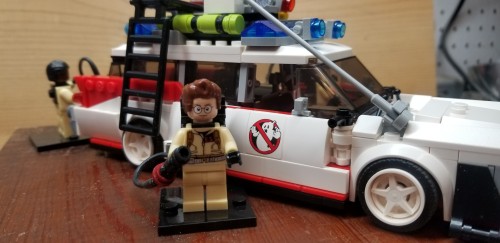
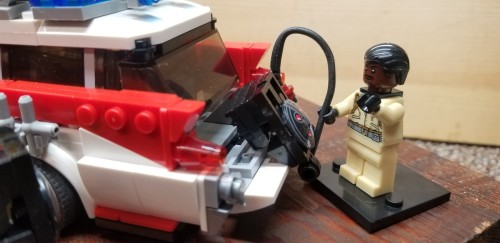
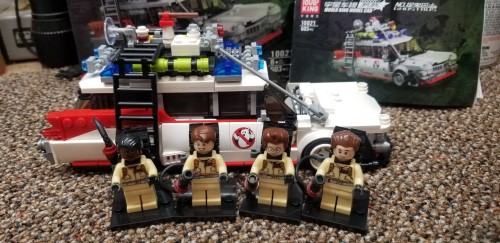
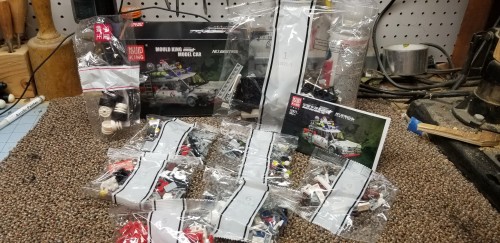
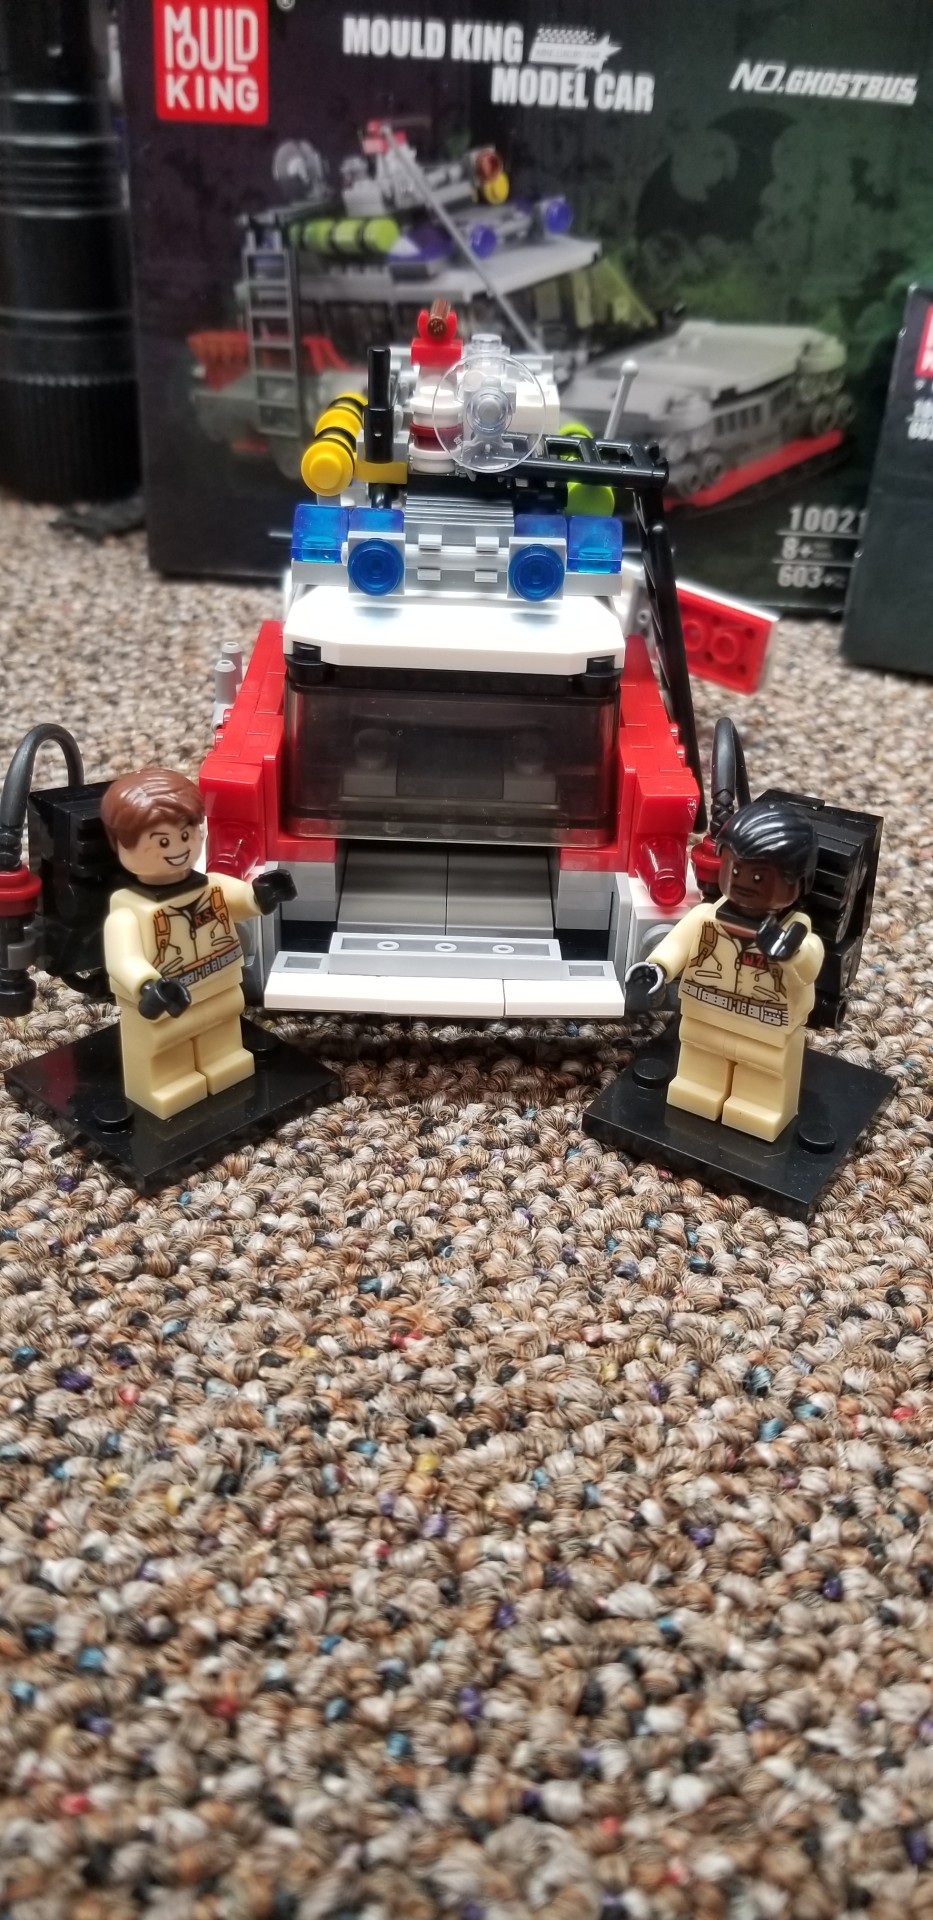
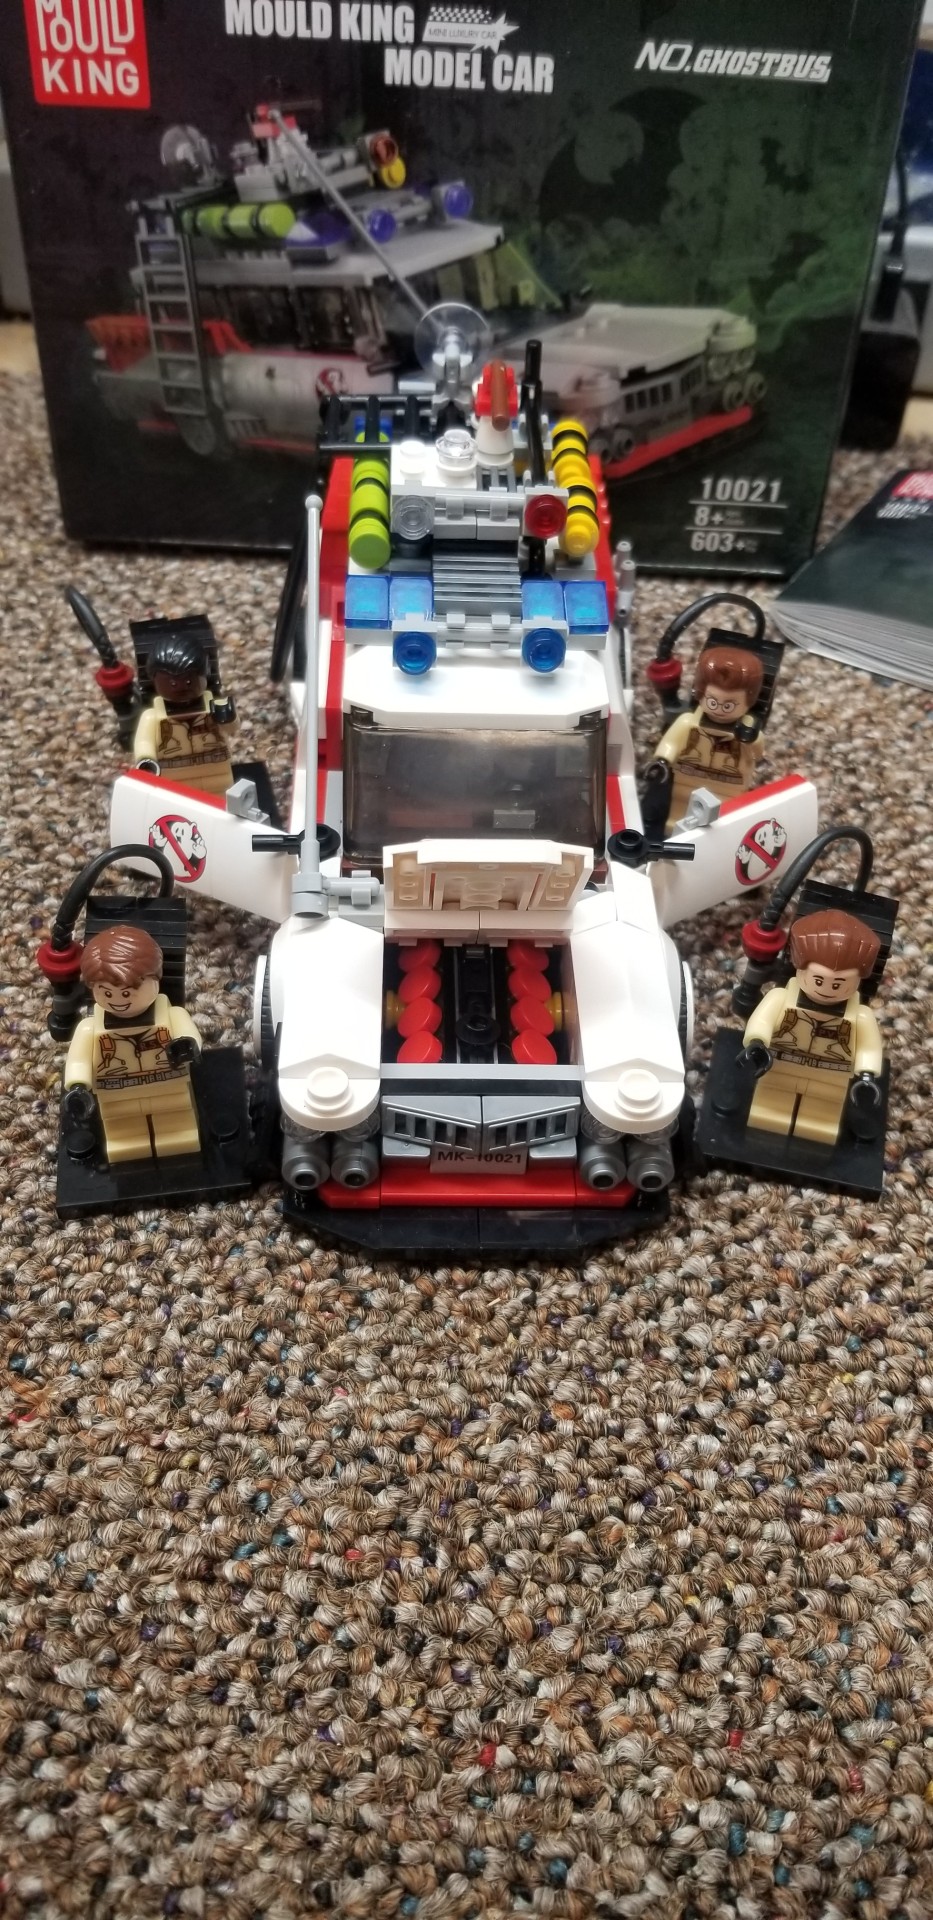
One of my newest off brand Lego sets. Sometimes being frugal pays of more than going for name brand when you just looking to have fun and experience some nostalgia.
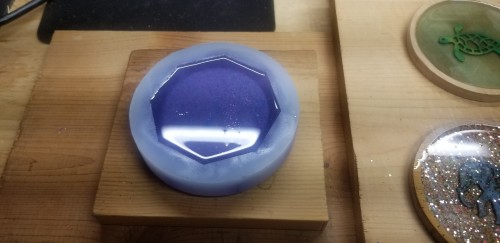
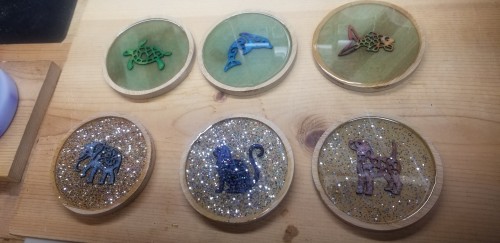
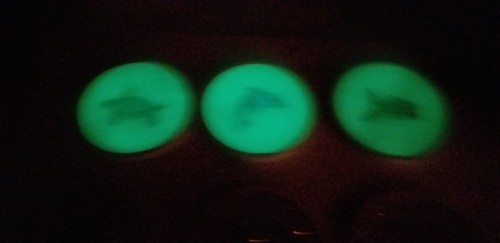
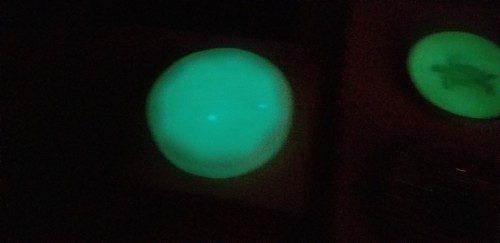
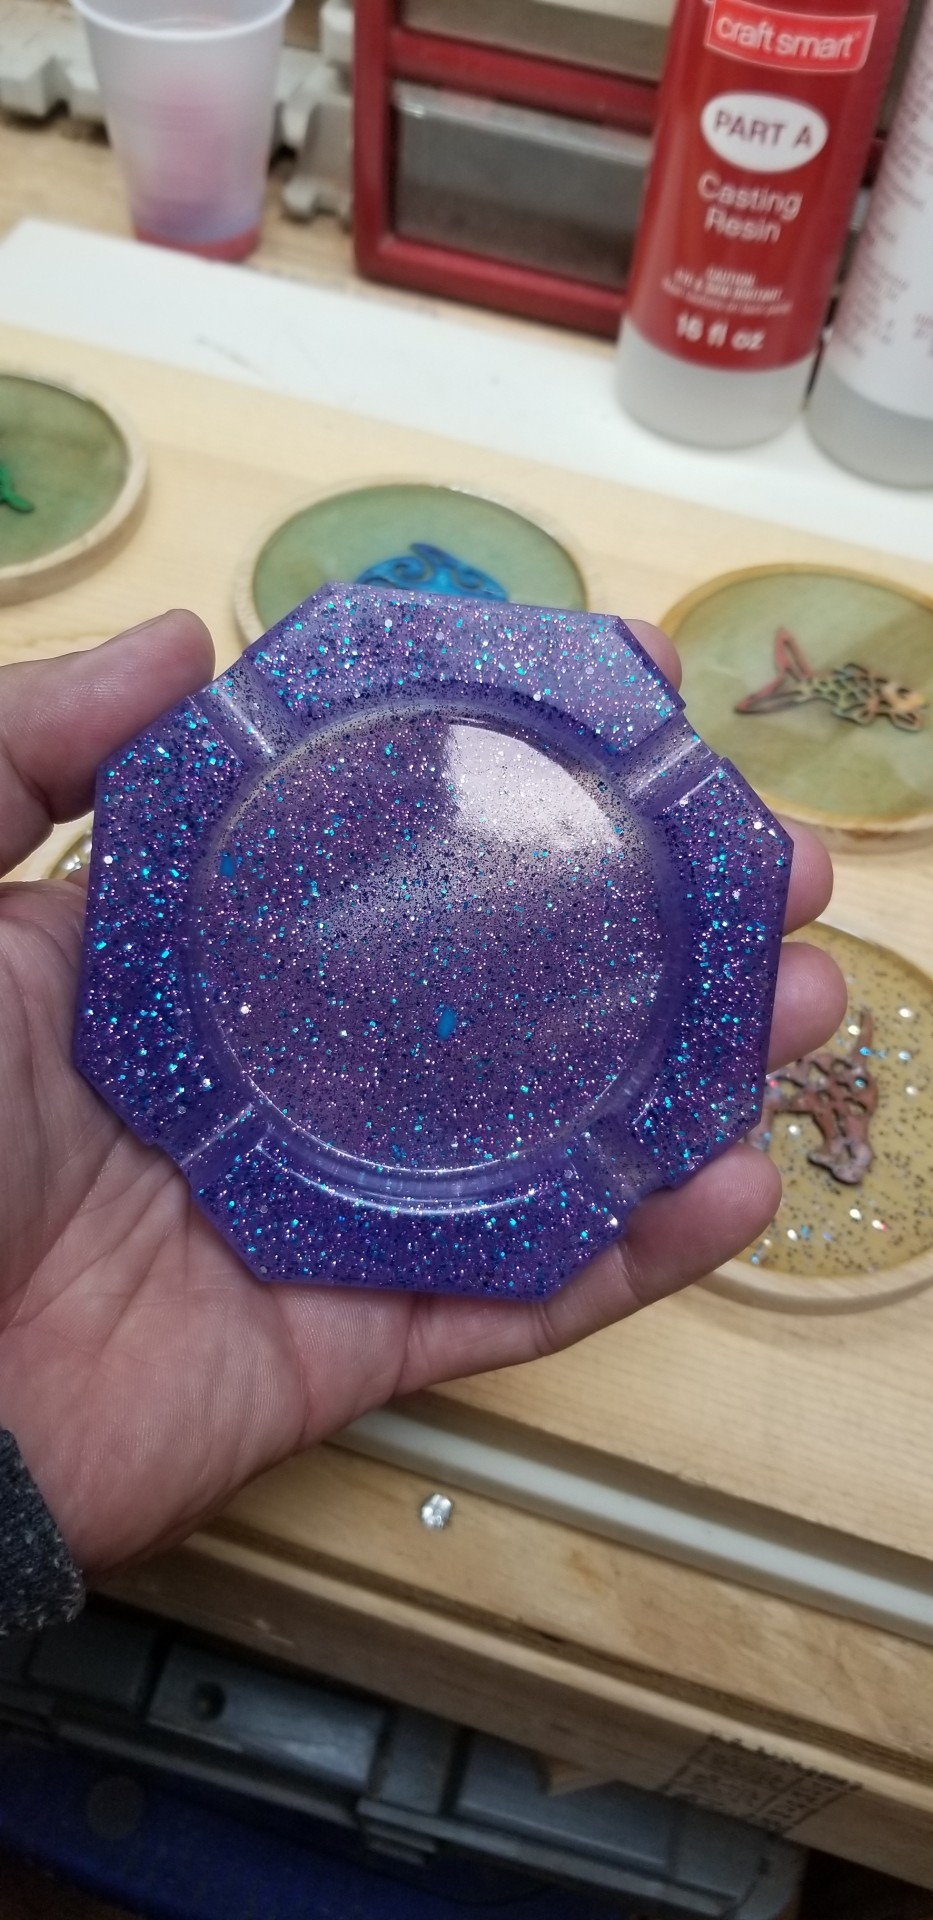
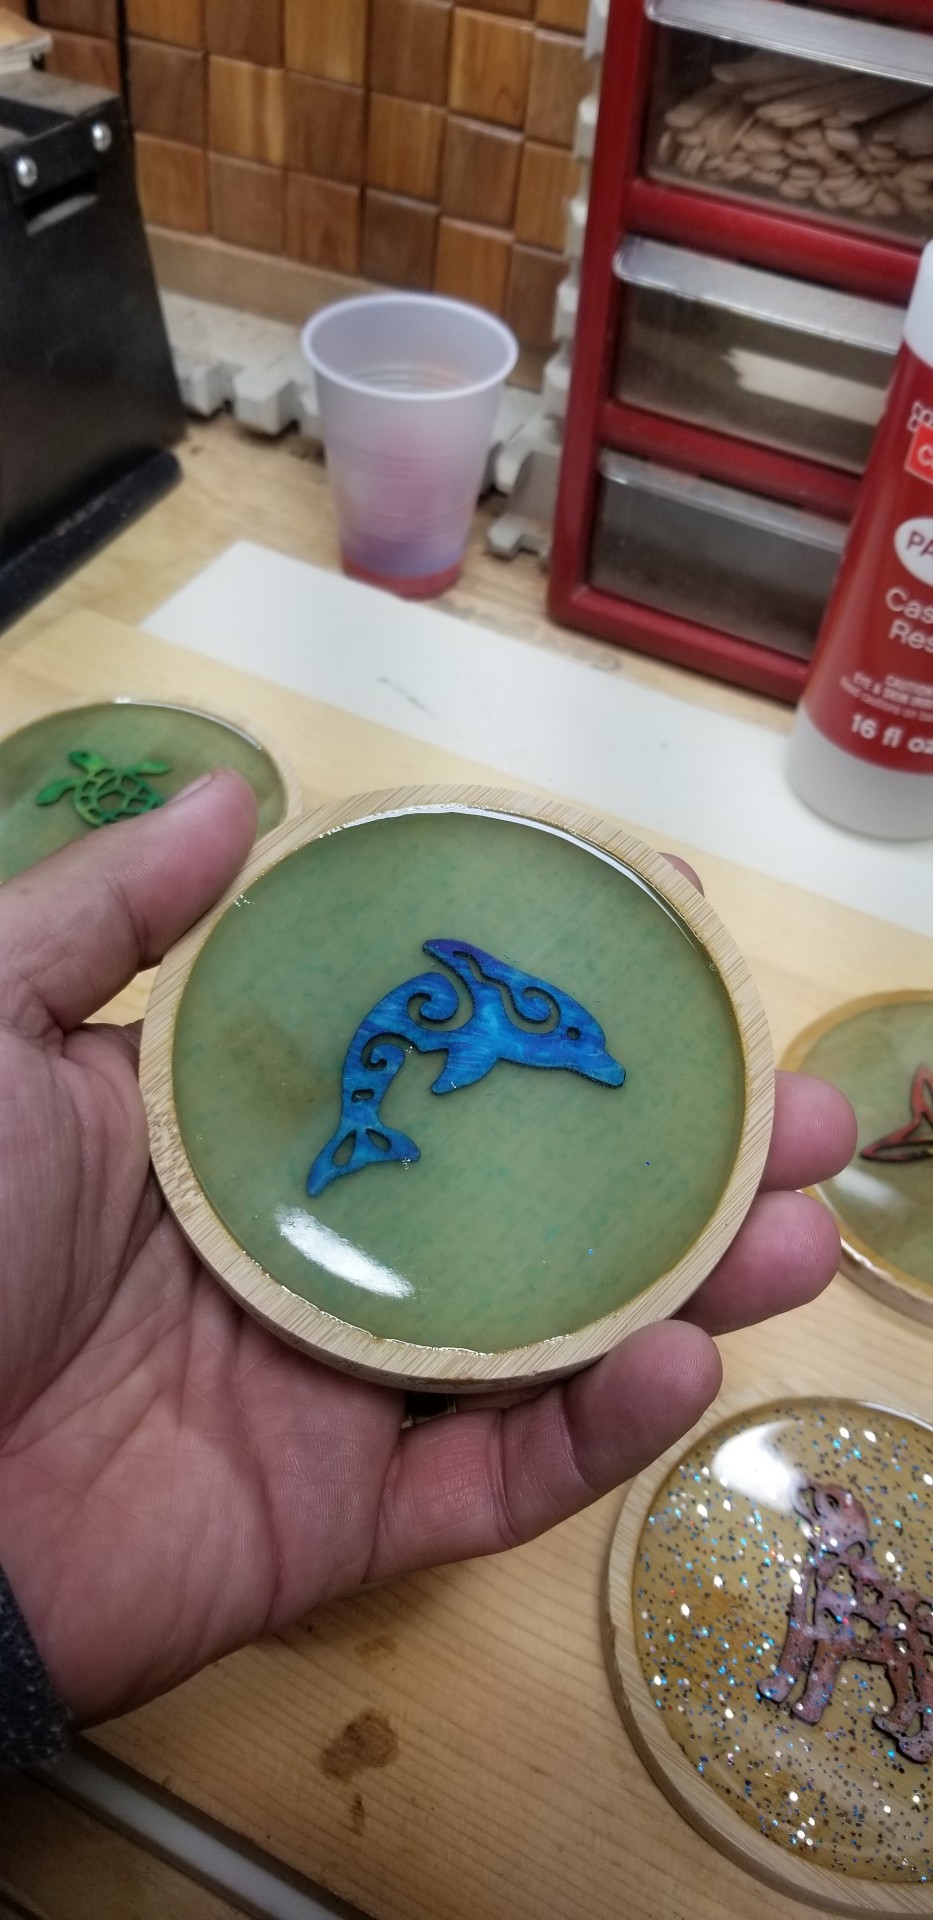
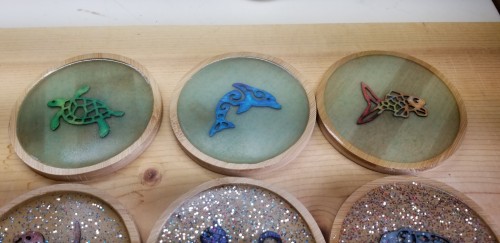
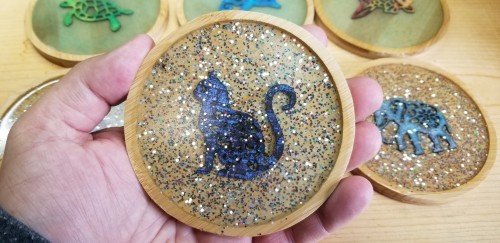
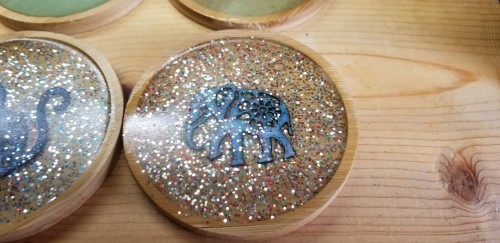
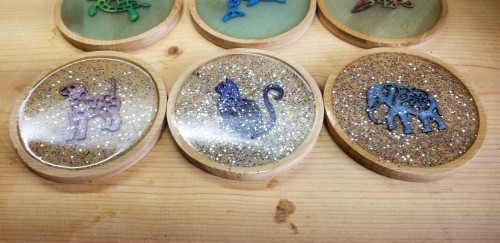
Crafted up some cup coasters. Took and added glow in the dark powder to 3 of them. Then I also just finished up a psychedelic ashtray that also glows in the dark for wifey to use in her art studio.😁👊🏻
I am nowhere near a professional at this, but I have fun experimenting and crafting some items in random molds and projects.
As some of you may know I hobby around with book binding and book repair. I love having the time to create a book in old style of kettle stitch I learned from a 5th generation book binder from Italy. I prefer to use poly-style cloth covers for my bindings over true leather. Currently my larges binding project was 860 pages.A average project takes about at least a 3 1/2 weeks minimum per book for the full project and drying times.
I start with creating the signature sets folding each set to size and in most cases I hand tear or cut each set to the desired sizing. Each signature usually consists of 24 pages per section. Some signatures have more pages and some have fewer. The count per signature is set by the overall size of the book size.
Each signature is sewn together with a anchor stitch at each end of the signature binding the signatures together. I use cloth anchor trims and for visual effect I like to add #4 twine to the binding this adds a rib effect to the spine and also gives the gluing a better grip. For the stitching I use mini sailor cotton stitching thread. I find that it is resilient and sturdy and with its semi-wax coating makes it easy to use when sewing through the signature corners.
Once I get the signatures sewn together and anchored to each other I like to sew in a bookmark. I most commonly use a ribbon to match what the final cover color or design. Adding it now makes it easier to make sure the bookmark stays bound since I can tie it in to the core of the spine. I then use my tack hammer to flatten out the edges where I have them elevated out of my jig some to give a rounded edging for the book spine and to make the gluing process hold more firm.
For the gluing stage I do at least 3 coatings of the book bind glue on the spine. Sometimes depending on the project size I do more than 3 coats to ensure the full signature spine holds firmly. Each coat of the glue takes at least 24 hours to set so sometimes the glue process can take 3 or more days to complete by itself. Once the glue phase is complete I gently remove the signature set from the jig and make sure all sections are held in place good with the gluing. If not I place the sets back in the jig and complete additional gluing as needed. I then work on the board inlays for the front and back covers and complete the cloth cover gluing process (Sorry no pictures of the cloth gluing process). Once I have the cloth gluing process completed I book glue the front and back inner anchor pages to the hard covers covering the inner cloth cover workings. I then select a decorative inner sleeve page and glue it in. The final project is a project of love for each completed book no matter what the book was created for. Even though the majority of books I create are usually for personal use I have made a few rare books from scratch for other individuals.